Kevin Chromik Mobile Software Engineer
DIY - How to build your own smart lamp with Raspberry Pi
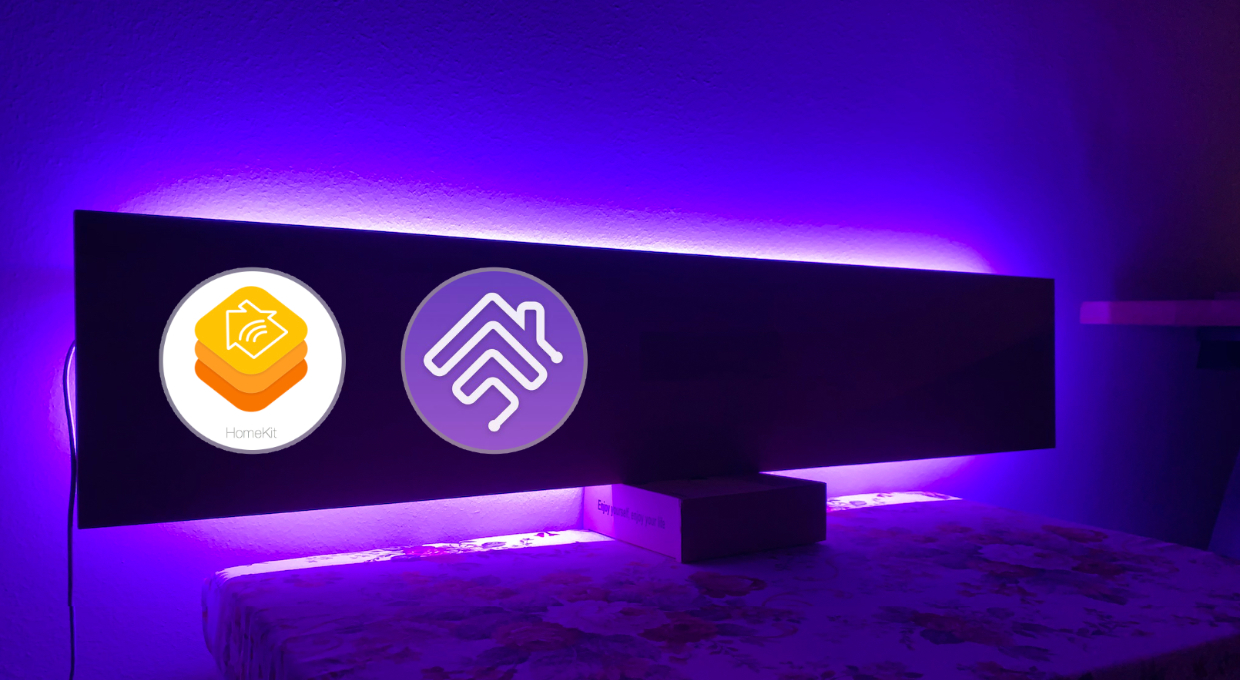
A guide on how to build a smart lamp with with HomeKit integration all in Swift
Find the source code of this project here.
This project contains three parts:
- LED Control client for iOS
- LED Server running on Raspberry Pi
- Homebridge config
Install Raspbian
On the Raspberry PI you must run Raspbian and connecting to your local network.
Install Swift
First step is to install Swift by adding the swift-arm repo:
curl -s "https://packagecloud.io/install/repositories/swift-arm/release/script.deb.sh>""| sudo bash
Followed by installing Swift itself.
sudo apt-get install swift5
Install Homebridge
For that just follow the official installation guide for Raspberry Pis.
You have to add a new accessory. Therefore, cop that part from the homebridge-config of this repo.
Run the Server
- clone this repo to your Raspberry Pi
- go into the
LED-Serversub-folder - build the swift project:
swift build - now the binary has been created
- I recommend to create a linux service and run the binary on startup.
Connecting hardware
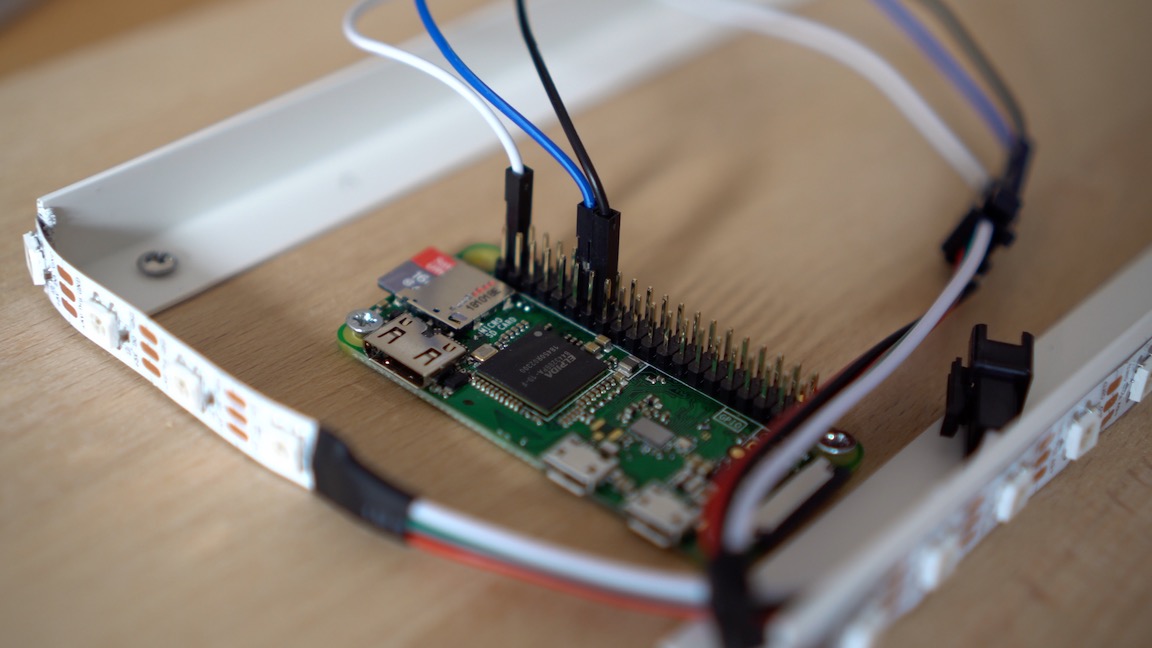
I bought a cheap WS2812B LED strip on Aliexpress. It has three connectors.
- Connect the data pin of your LED strip to
GPIO18. This is needed because this is the pin which supports PWM. - The ground connector must be connected to any of the ground pins of the Raspberry Pi.
- The third connector of the LED strip is for power supply. Connect it to one of the 5V pins of your Raspberry PI.
Control your light
Afterwards you should be able to control your lamp either via Homekit, including Siri and from the small iOS application Raspberry PI LED Controller which is also part of this repo.
Remarks
I am using a Raspberry Pi Zero. If you are using a different model, you need to change the LED.swift file accordingly in the ‘LED Server’ part of the repo.
Source code can be found on Github.
Written on December 5th, 2019 by Kevin Chromik